I've finished all the steps for lesson 3 on my altered book (AB) class with
Elizabeth. It's a free online tutorial that she is so generously sharing - amazingly detailed info and photos to guide you each step of the way and you can start any time; the lessons are in order on her sidebar.
There were 3 main components of lesson 3 - prep the cover, reinforce and decorate the inside cover and create a niche at the back.
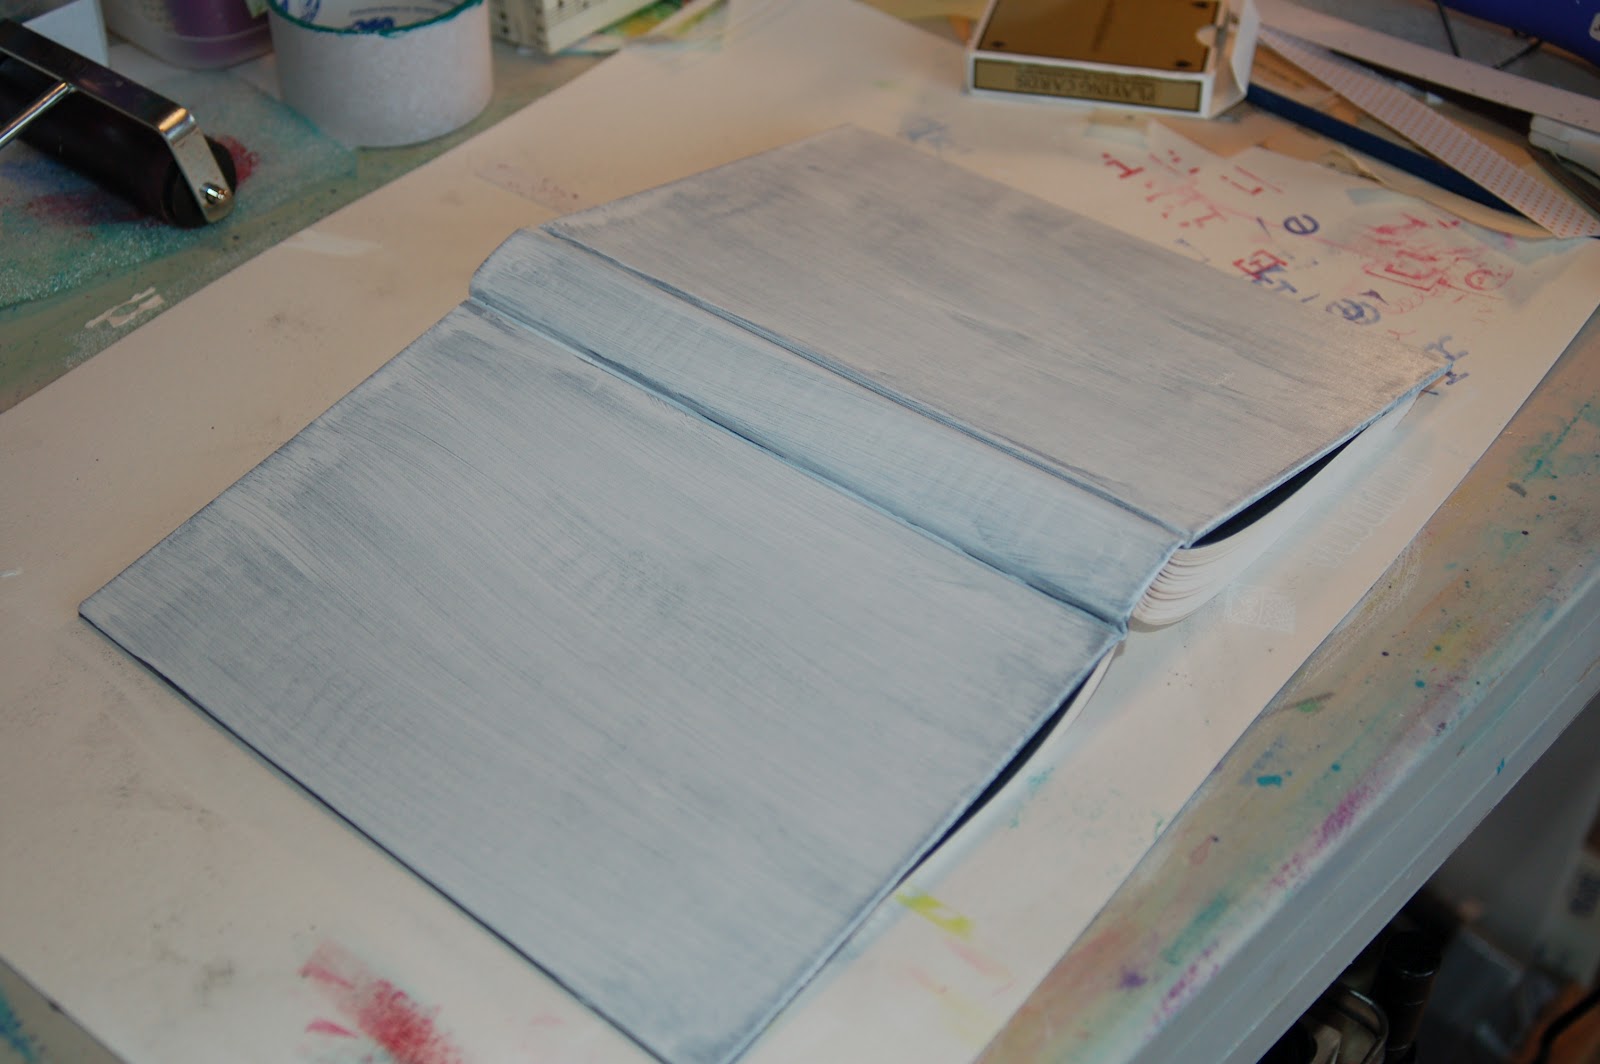
My cover was a solid black so not too hard to do - I sanded it a bit and covered it with a couple coats of gesso. I'm not sure what I'll do to it just yet - it may need more gesso, depending....
Step 2:
I had some of this gorgeous textured handmade paper (no I didn't make it) left over from another project so added it for my inside cover. Yep, that's the glue showing through. Again, when I figure out how to embellish this, I'll be covering up most of those glue marks.
I love the ragged deckle edge.
Step 3 - create niche:
Gluing the back pages together - twice! These clips were the perfect clamp but that's partly because my niche is so thin - will likely do it deeper next time.
Niche cut and glued and drying.
Niche covered with scrapbook paper (corners a little messy) and you can see how thin this niche is. I'm using wire wrapped sea glass to fill it. The left hand page has a cutout corresponding to the size of the nice and there's a blank page on the other side so I'm thinking I'll write some pithy comment there when I get to that. I had this scrapbook paper that felt like seaside/ocean etc to go with the seaglass detail. I'm sure I'll add to the seaglass page....just not sure what yet.
The niche pages are glued to the back cover. Things to do better next time: choose the niche piece first so I make a space deep enough, take more care in cutting/folding the corners of the cover sheet!
Thanks for the detailed instructions Elizabeth! I'm looking forward to the next steps.


I love the sea glass you are using for your niche, and the ocean feel patteren paper you chose is very similar to one I've laid aside to use in my book too! Great minds think alike, eh? waving hi from the hills of North Carolina :)
ReplyDeleteActually, you did a super job on the niche for the first time around. Now you know why I covered my first one (from the Money AB) with a colored paper towel the first time around.
ReplyDeleteI LOVE that hmp. It is gorgeous. I adore the color green. And now you know why I always recommend GLUE STICKS for hmp. It's what I use for mine (and yes, I make my own tee hee).
Thanks again for playing along AND for posting when I asked for it. Great job.
I love the see glass for your niche and the patterned papers you have used go beautifully with theme and it is so much fun having the niche all cut out - you keep going back and looking at it!!
ReplyDeleteI adore your handmade paper and its deckle edge. Love how you have put wire around your sea glass too. I'm guessing your theme is "The Sea" then. Love it.
ReplyDeleteLove the sea glass in your niche. I found those corners challenging, too, LOL! I wound up adding tiny pieces of paper to cover the bare spots! The colors of the paper on the facing sheet accent the glass colors perfectly. So much fun to see what everyone does--thanks for sharing.
ReplyDeletegreat work on your AB! love your handmade paper and sea glass!
ReplyDeleteI love the sea glass and have a had a lovely time catching up on your posts... love the photo of the daffodil and the one of you and your parents... you were very very cute... those classes are so wonderfully detailed aren't they. I have been reading and making notes and am hoping to put some time aside to give a book a try... maybe after Easter... hope mine turns out as lovely as yours...xx
ReplyDeletewow, what a cool book you're making this into. and the niche is awesome!
ReplyDeleteThis is going to be so amazing when it is done.
ReplyDeleteThere are so many ways to make a book from scratch; altering a book is fun but making your own from basic materials is awesome.
Thank you for your kind comment...
I am very good at saying what I am going to make, but very bad at finishing these projects I start.
xxxxxx
Your book is looking fab already, love what you've put into your niche. Looking forward to seeing what comes next!
ReplyDeleteYour AB looks great! Love the handmade paper and seaglas pieces.
ReplyDeleteTuire xx
Gorgeopus result Terrie. Thanks for all the info.
ReplyDelete