Showing posts with label altered book. Show all posts

5/28/12

altered book work

I have been sadly neglecting my altered book for several weeks.  I have a dozen excuses, all irrelevant - the fact remains, I've ignored it.  Today I have some time so thought I'd get back on track and I found myself inspired and working with fun and joy and no judgments! (must be that clean workroom!)

These pages are working with Lesson 8, color.  Elizabeth at Altered Book Lover is our guide through this process and she wrote an amazingly complete post about color, it's uses, terminology, etc. The homework was to create a color wheel using cut magazine pages and to make at least one page in a color scheme: analogous, complementary, etc.  Here's what I created:

I put my color wheel on a black painted background to have the colors be more vibrant, cut a rough leaf shape for each color and then labeled them.  I know it's been a long time, but the theme for my AB is quotes and I'm generally trying to use organic or floral shapes on each page, thus this unusual take on a color wheel shape.


I chose an analogous scheme of green, blue, purple (side by side on the color wheel).


Toned it down a bit with gesso and wiped it down a bit.


Added drips, spritzes, and my quote which says:  "Live for love, color, surprise. Live for a good laugh, a great kiss, the joy of it all.  Live for warmth, for endless sparkle, for jewelry that sings.  Live for fun. Live to give." - You can also see my "color wheel" tag hanging out the side .... I added it to the color wheel page and it sticks out like a tab from the side of the book.

Finally, another page which harkens back to an earlier lesson on theory - line, shape, etc....there's a lot going on with this page, but strangely, I kind of like it.


Layers and more layers and finding the right words from my huge stash of random text.


I added in a pretty floral post card I received.


These scribble pages are not my faves, but ....  "An idea is a point of departure and no more. As soon as you elaborate it, it becomes transformed by thought." Picasso; and a Turkish proverb:  Having two ears and one tongue, we should listen twice as much as we speak.  Hmmm. I should maybe heed that one more :)

So that catches you up with most of the work in my AB so far.  I'll be posting this to Elizabeth's site and if you have any interest at all in AB, her free tutorials are just amazing - thorough and filled with "what works for me" information.  Since this is my first effort, I'm finding her hand holding and detailed info very helpful.


4/13/12

AB, lesson 5

Lesson 5 of Elizabeth's amazing free altered book class is all about design principles and elements.  (Be sure to visit Elizabeth's blog (AlteredBookLover) if you haven't already, and see the detail and obvious work she puts into providing in depth information about how to make an AB)  We've been asked to create at least 5 layouts - one each illustrating harmony, unity, balance, emphasis and proportion.

I learned all about these in interior design classes and always thought the distinction between harmony and unity was pretty obscure.  At any rate, my progress so far:  (remember, my theme is 'quotes')

The quote reads:  "To read is to fly - it is to soar to a vantage which gives view over wide terrains of human variety, ideas, shared experiences, and the fruits of many inquiries." - AC Grayling.  I wrote it over the polka dots using a light green marker so it's almost invisible - more a part of the background. Then I wrote it again on the facing page in a darker, more legible color.  The photograph is of a bookstore front in Madrid.


On this page I made a mini niche cutout using the same techniques of gluing about 40 pages together, cutting out the center, using an awl to poke holes and then using embroidery thread in blue (vertically) and green (horizontally).  You can see through to the page below.....

Above is the other size of the thread grid page, carrying on the reading quote theme.  And then below the page is made with one of my sandwiched tissue paper pages (yellow and blue) and stamped with ladybugs, a dab of washi alpha tape and scrapbook paper scrap.  I love how these pages turned out!

These pages show a simple straightforward balance but probably more directly show the use of a focal point or emphasis.  The thread frame highlights the photo one way and the word soar the other way.


This double page illustrates extremely symmetrical balance where the pages are mirror images framing the quote.  This quote reads "Stumbling and getting up again - that's a journey.  Stumbling and ceasing to try - that's a destination."  - Linda Armstrong (Lance Armstrong's mom - love this quote)  I don't love the results as much on this page - don't love the color scheme or the pink scrapbook squares - may need to doodle those up a bit...

My next layout, below, shows harmony between the 2 pages by using the same color scheme and background materials in a similar way - maps, scrapbook paper, brayered ink, stenciling.  The quote reads, "When we lose the right to be different, we lose the right to be free."  It also shows unity in the repetition of the leaf shape and circles; focal or emphasis with the strong orange leaf attracting the eye instantly; and balance by keeping the eye gently moving about the 2 pages as you read the quote and follow the leaves.


And, below again, this double page layout started out with one idea, didn't like it so went another way....I'm not crazy about it, but rather than obsess over it right now, I'll return to it when I feel more inspired to fix it.


Be sure to visit Elizabeth and join in her AB tutorials.  If you've ever had even a passing interest in creating an altered book, she's the one to help guide you through it.  I can't wait to see what everyone accomplished with this lesson!

4/2/12

altered book: lesson 4

I'm continuing with the free and very comprehensive altered book (AB) class being given by Elizabeth over at Altered Book Lover.  Each of her very complete and detailed lessons is archived at the top of her side bar so you can easily join in any time.  She's proceeding at a leisurely pace of a new lesson every couple of weeks so there's plenty of time to work on each step.

Lesson 4 was all about glue.  We were tasked with gluing 2 pages together using every type of glue we had to see how the paper reacted and how easy it was to work with after gluing.  Elizabeth suggested we then make tags or some way of keeping notes of our results on the pages.  Finally, we were to experiment with using some type of glue as a decorative resist or element and also to make a double spread using gesso as both the glue to hold pages together as well as the glue to hold design elements to the page.

Here we go:


The glues I used were:  glue stick, PVA glue, Elmer's white glue, mod podge (decoupage), matte medium and gesso.  Generally, there wasn't a lot of difference between them.  They all held up well to the application of acrylic and watercolors.  The glue stick page was slightly stiffer and less flexible.  Elmer's and decoupage had the most bubbling or ridges, but not enough to bother me.  Matte medium and gesso probably were the easiest (I just dribbled from the bottle to the page and spread with a credit card) and left me with the most flexible and easy to work on pages.  However, they're also the most expensive mediums so I likely won't use them as a regular course when most of the other glues were satisfactory.  I didn't really have any trouble with pages curling or warping.

The photos above show the tags and pouches for each page.  I used flower photos I'd taken for the pouches and the tags are just painted & distressed pieces of a cardboard popcorn box with ribbon added.


Next I started decorating.  I wasn't too successful using the white glue as a resist.  In fact that page is still 'under construction' - I'm not quite sure what to do with it.
Above, the glue is still wet and blobby.  Definitely a technique that would require some practice. Quote on this page:  You don't have to get it right, you just have to get it going! - Mike Litman (thought this particularly appropriate for this book!)

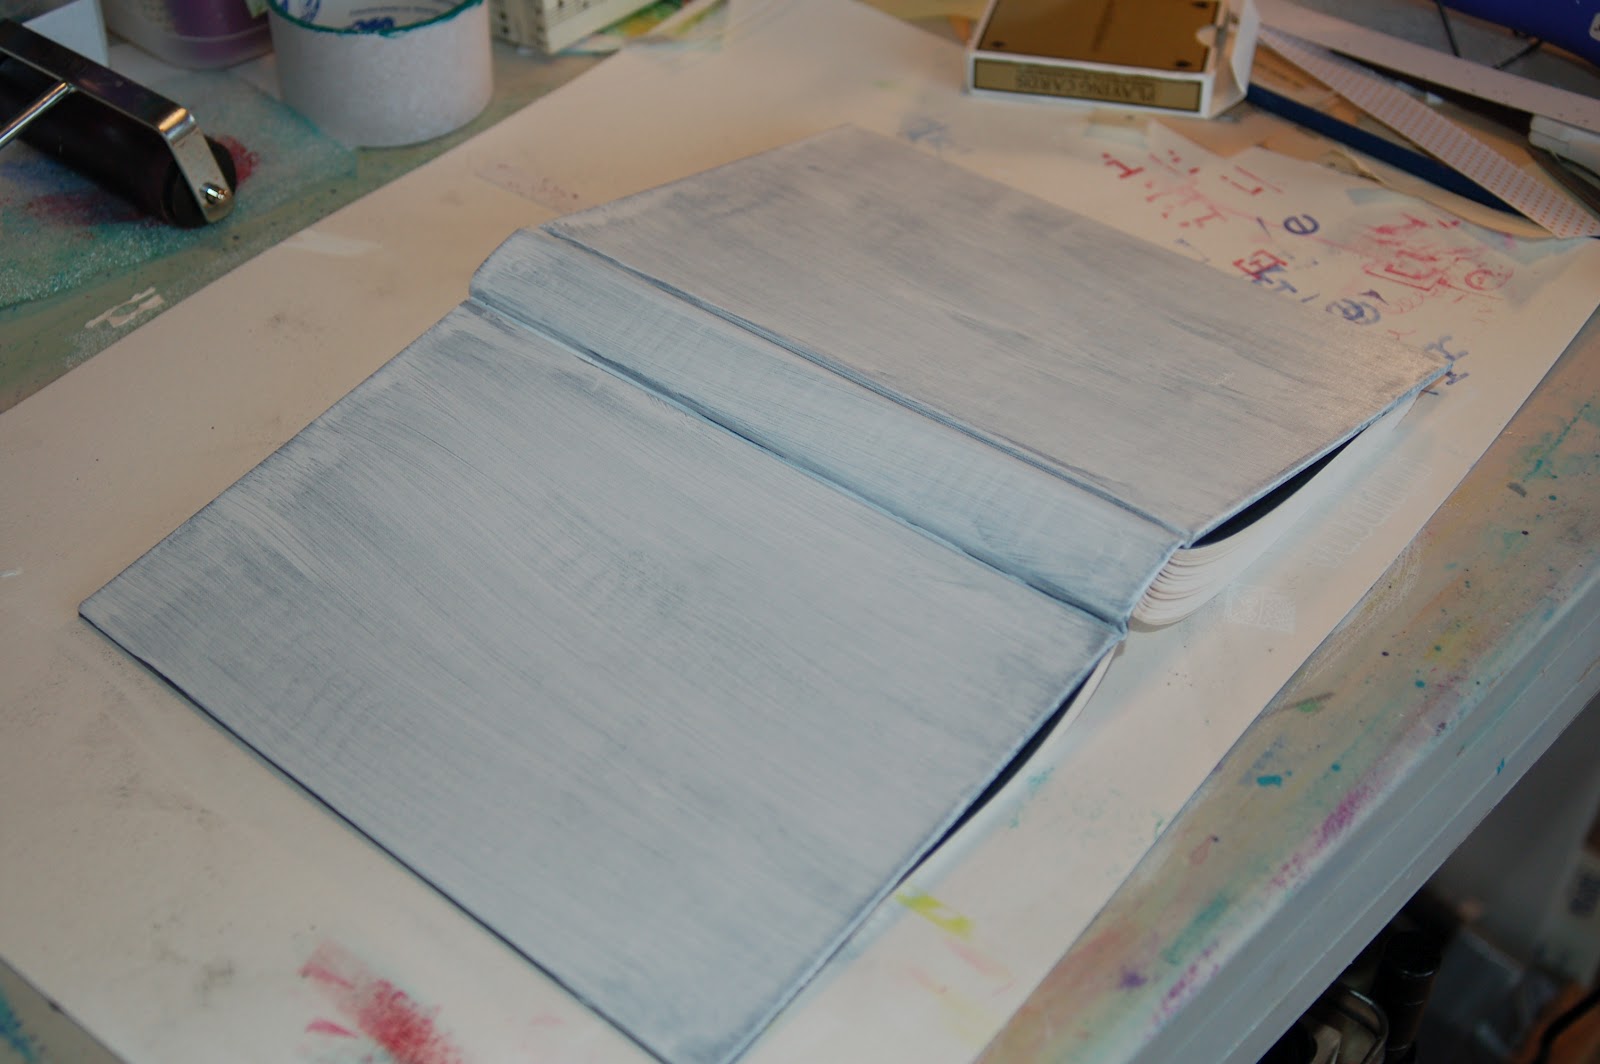
Another task was to try gesso as the surface prep as well as the glue to hold design elements.


The floral paper & holed paper above are pretty heavy and you can see the holed strips and lace bits didn't totally stick down.  I learned that I need a thicker coat of gesso to hold down the heavier elements.  I used Inktense watercolor pencils, a little wood cut out butterfly, lace, markers, glue stick, washi tape on the gesso surface and everything worked beautifully.  My quote says:  Dreams are renewable.  No matter what age or condition, there are still untapped possibilities within us and new beauty waiting to be born. -Dale Turner

By the way - originally I was considering Daydreams as my theme.  After further thought, I've changed it to Favorite Quotes - I'm going to use it as a place to gather and illustrate my favorite sayings.

Here are my remaining pages so far - some still need their quotes added.

Glue stick page - I used one of my homemade stencils for the purple pie shapes, scraps from a rejected piece of art and markers:

Elmer's Glue page on right, PVA on left.

Decoupage on right, Elmers on left.

Matte medium on right, decoupage on left - quote: We are all adventurers, explorers, and travelers of life.

Gesso on right, matte medium on left with some Traci Bautista inspired doodles.  Also, I tried the technique of applying gesso and drawing into it while wet.  On the left (my first effort), I found that I applied it too thin and it dries VERY quickly so details were lost.  I tried again on the right, spread it more thickly and drew more quickly so it was a more successful result.  Covered with acrylic paint.  The left page also has white out marker, oil crayon, Inktense pencils and duck tape across the top.

If you've ever thought you might like to try an altered book, let me highly recommend Elizabeth's class.  It's SO thorough and so clear, she makes it easy and fun to succeed.  I can't wait to try the next pages!  There are as many styles of books as there are participants, so be sure to visit the links and see what others are making.  Thanks Elizabeth!

3/18/12

altered book step 3

I've finished all the steps for lesson 3 on my altered book (AB) class with Elizabeth.  It's a free online tutorial that she is so generously sharing - amazingly detailed info and photos to guide you each step of the way and you can start any time; the lessons are in order on her sidebar.

There were 3 main components of lesson 3 - prep the cover, reinforce and decorate the inside cover and create a niche at the back.


My cover was a solid black so not too hard to do - I sanded it a bit and covered it with a couple coats of gesso.  I'm not sure what I'll do to it just yet - it may need more gesso, depending....

Step 2:

I had some of this gorgeous textured handmade paper (no I didn't make it) left over from another project so added it for my inside cover.  Yep, that's the glue showing through.  Again, when I figure out how to embellish this, I'll be covering up most of those glue marks.

 I love the ragged deckle edge.

Step 3 - create niche:


Gluing the back pages together - twice!  These clips were the perfect clamp but that's partly because my niche is so thin - will likely do it deeper next time.

Niche cut and glued and drying.

Niche covered with scrapbook paper (corners a little messy) and you can see how thin this niche is.  I'm using wire wrapped sea glass to fill it.  The left hand page has a cutout corresponding to the size of the nice and there's a blank page on the other side so I'm thinking I'll write some pithy comment there when I get to that.  I had this scrapbook paper that felt like seaside/ocean etc to go with the seaglass detail.  I'm sure I'll add to the seaglass page....just not sure what yet.

The niche pages are glued to the back cover.  Things to do better next time:  choose the niche piece first so I make a space deep enough, take more care in cutting/folding the corners of the cover sheet!

Thanks for the detailed instructions Elizabeth!  I'm looking forward to the next steps.

3/5/12

altered book: step 1

I'm so excited to be following along with Elizabeth's altered book class - it's free and she is sharing the most detailed instructions imaginable.  If this is something you've wanted to try, now's the time.  She's moving at a slow and steady pace to give us all time to get the materials and prepare them, step by step - we're only on lesson 2, so there's still time to join in.

Here's my step 1 - obtain a book with a STITCHED binding, remove some pages (about 1/3).


Not too exciting photos yet, but just wait.... :)   The rubber banded section will become a niche to hold a little treasure - mine's going to have to be pretty narrow; I didn't reserve many pages.  Today's lesson came out and covers making the niche and preparing the cover and inside pages. I can't wait to get started....

Oh yeah, we were also supposed to decide on a theme and start collecting paper/photos, etc. to go in the book.  My theme is Daydreams.

This and all my other posts this week are shared with Creative Every Day where Leah encourages and reminds us to create something every day, whether it's cooking, writing or painting.  Stretch those creative muscles!  Leave your link so we can see how you're being creative.